Setting up pixel art graphics in Godot 4
2026/02/16
- Type
- Learning Resource
- Format
- Study Guide
- Version
- Godot 4.x
- Subject Tags
- Created
- Updated
- 2025/06/11
- 2026/02/16
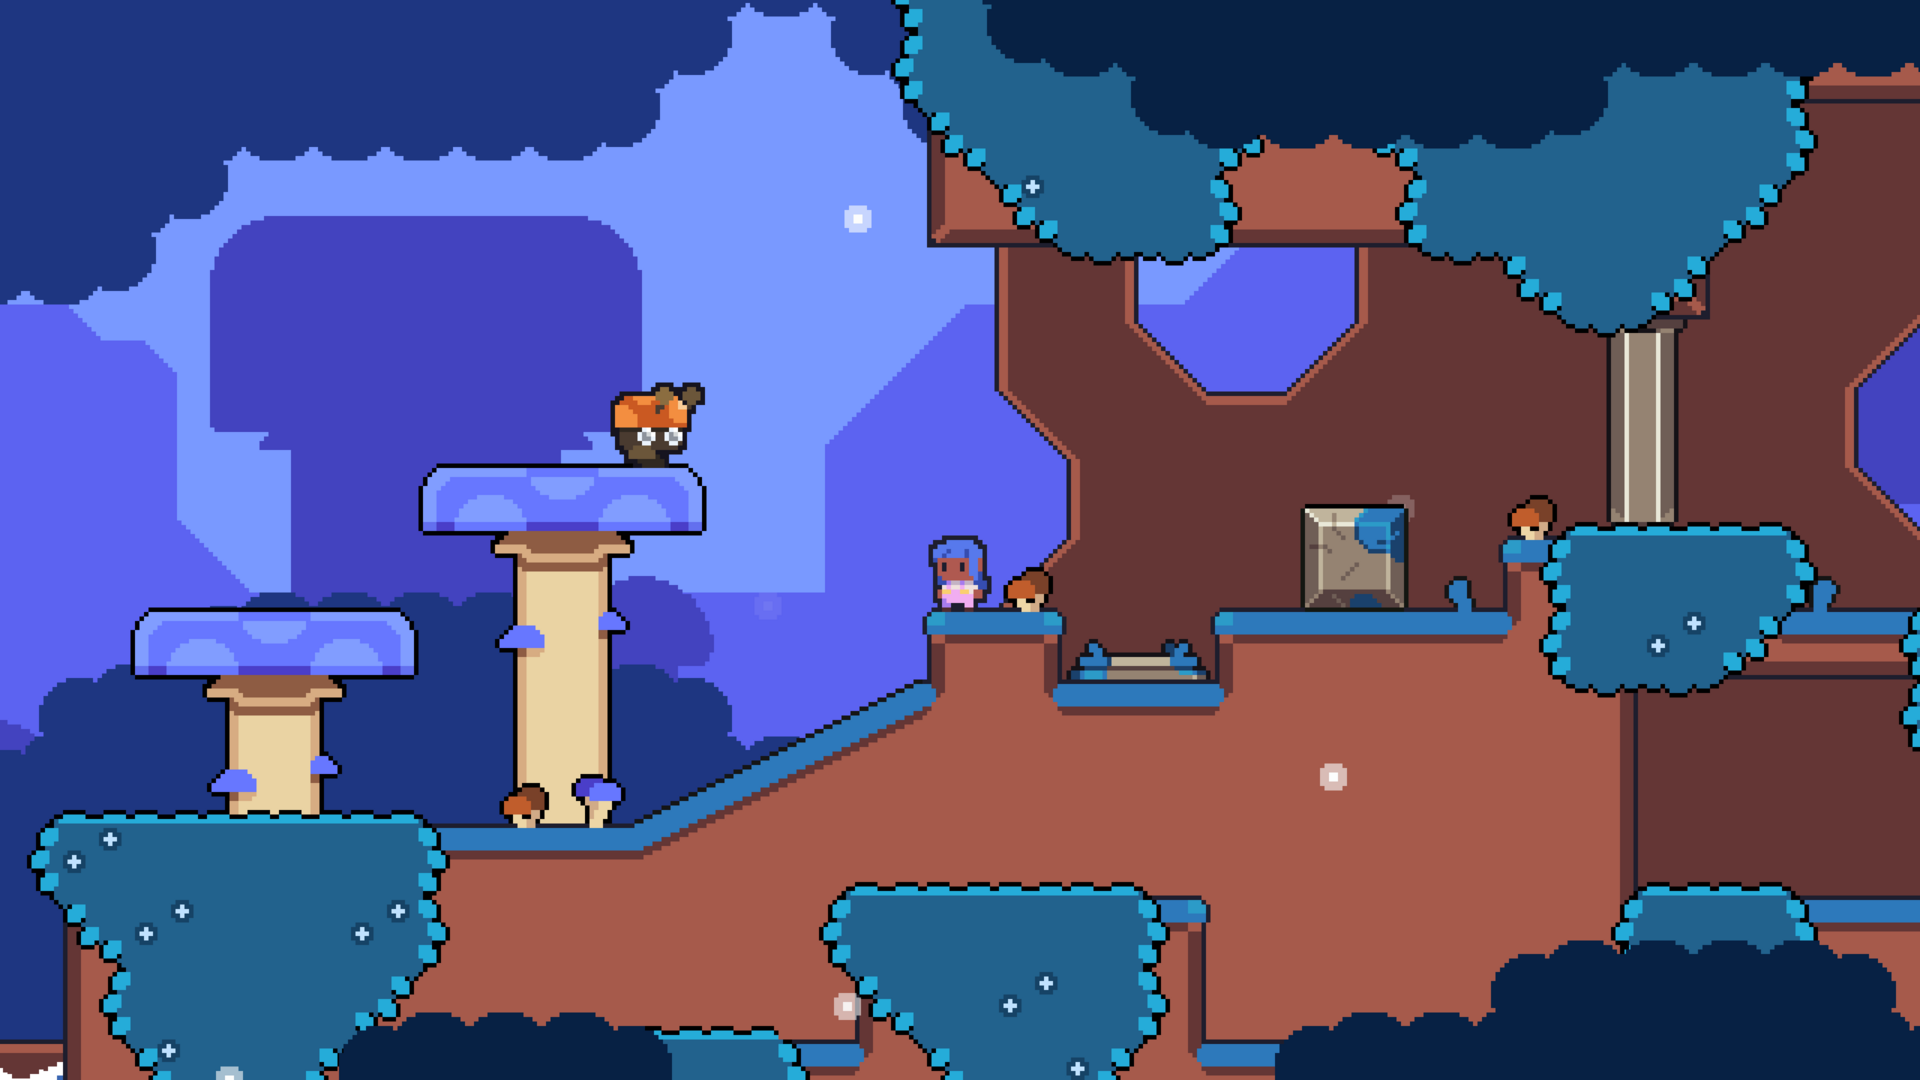
Pixel art needs you to tweak a few settings to look right in Godot. By default, the engine is set up for smooth, modern graphics, which isn't what we want for that blocky, pixelated aesthetic.
To make your pixel art look crisp, you need to configure three main aspects: texture filtering, viewport scaling, and your base resolution. Get these wrong, and your carefully crafted pixel art will end up blurry or inconsistent, and lose all its charm.
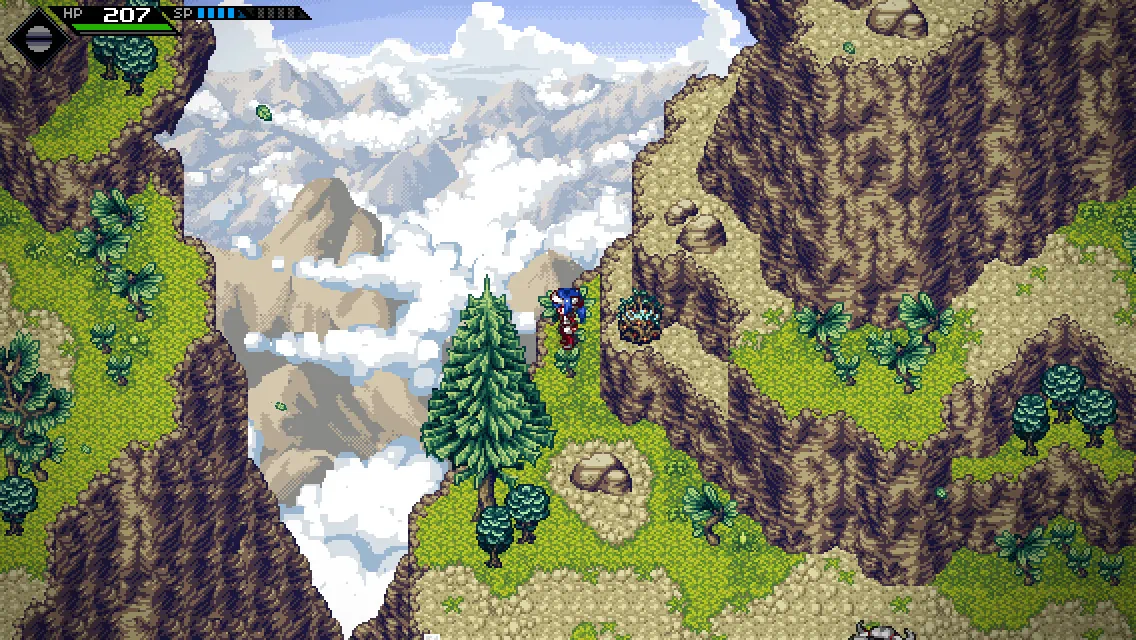
With pixel art, we're trying to capture the feel of classic games that rendered at small resolutions due to hardware limitations. It's all about those chunky, sharp pixels that give that unique retro vibe.
When you design pixel art, each pixel has a purpose. When scaling these assets up or down, you want to preserve those edges rather than blend them together, even on larger screens.
In this guide, you'll learn:
This guide focuses on the main built-in settings you need to set up a pixel art project in Godot. These settings make it easy to get a good-looking pixel art game without writing any shader code or custom scripts.
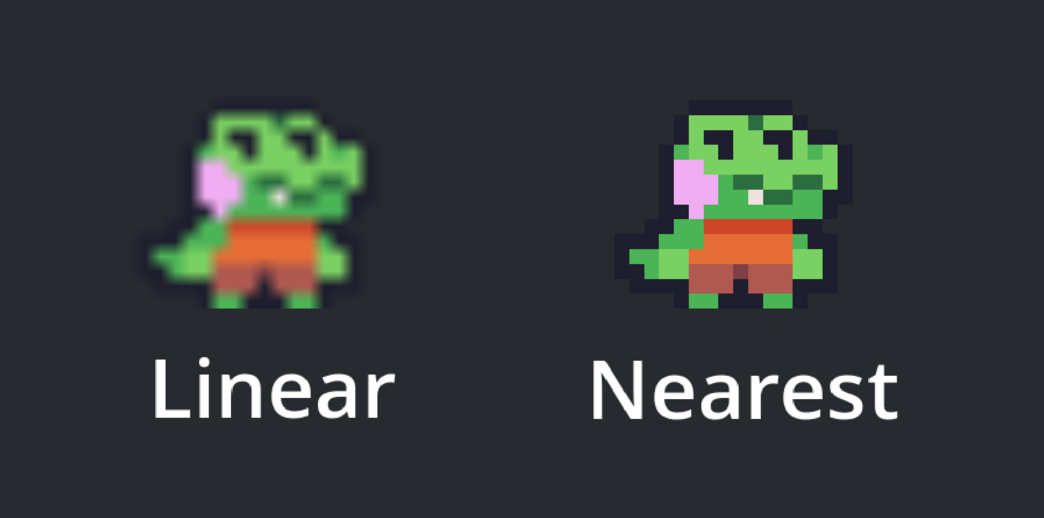
Godot's default texture settings use linear filtering, which smooths out pixels when they're scaled. This works great for high-definition graphics, but it's the enemy of pixel art because it blurs the edges we want to preserve.
For a pixel art project, you'll want to switch all your textures to use nearest neighbor filtering instead. This tells Godot to keep pixels sharp and blocky when scaling, rather than trying to blend them together.
You can set this globally in your project settings:
With this change, all your textures will use nearest neighbor filtering by default. If you need to, you can also set this on individual nodes by changing their Texture
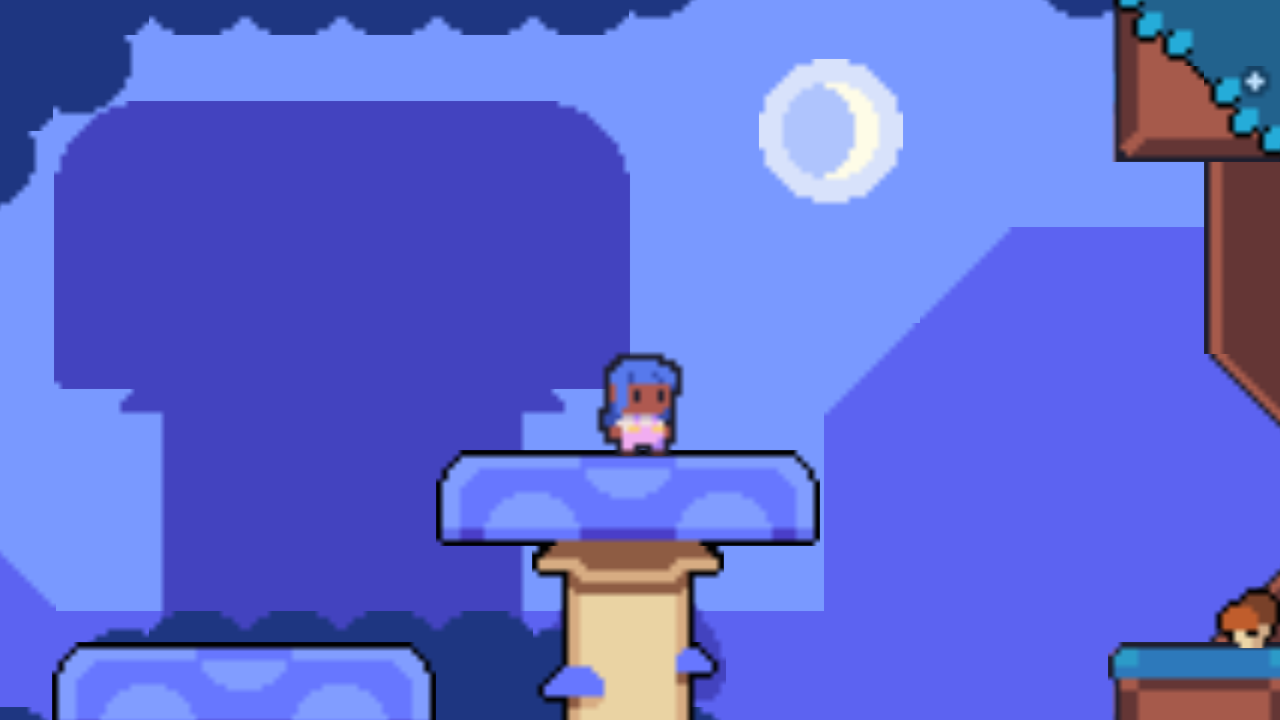
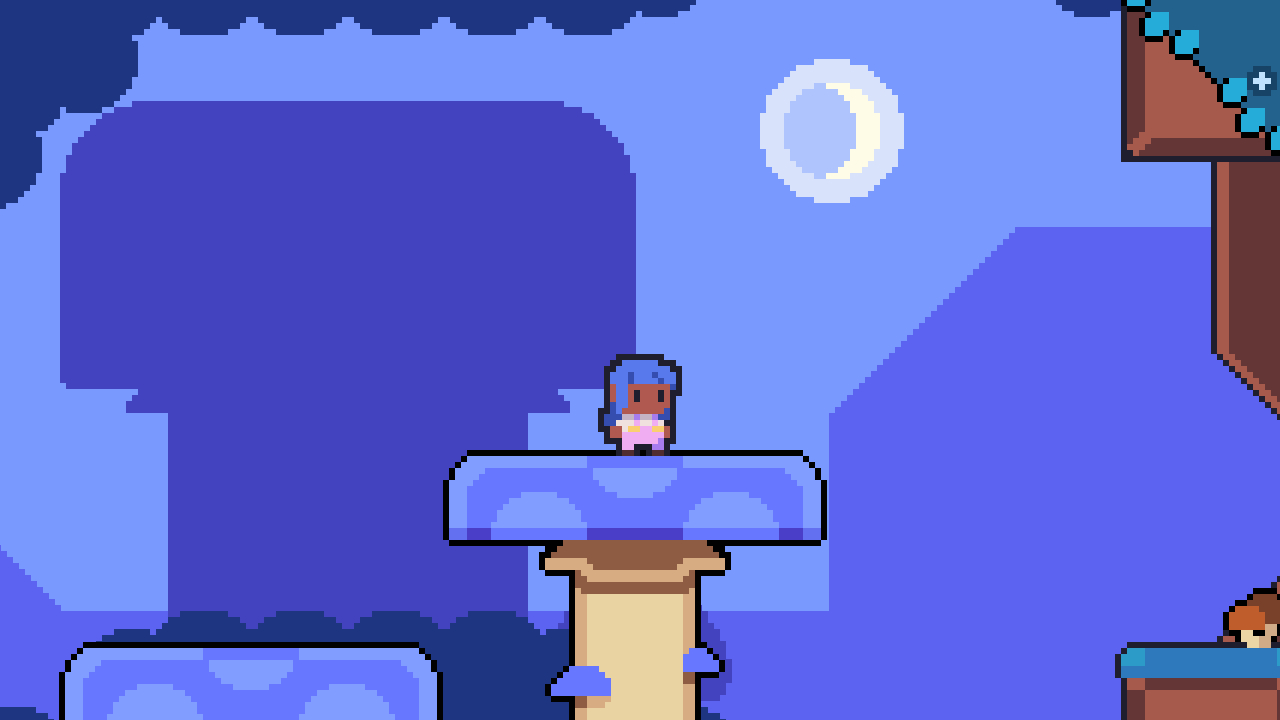
The resolution you choose in your project settings determines the virtual canvas size for your game. It changes how coarse or dense your pixel grid is, which affects how your pixel art looks on screen.
Which resolution should you pick? There's no one-size-fits-all answer, as it depends on your specific art style and the size of your assets. Here are some guidelines to help you decide:
Godot offers different ways to handle how your game scales from its base resolution to fit different screen sizes. For pixel art, you have two main approaches, each with its own strengths:
Here's how to set your scaling mode:
If you use the viewport mode, be careful with fluid animations like tweens and particle systems. They'll look very jagged because they're rendered at the low resolution of your viewport.
If you want to use these features, you'll want to favor the canvas item mode instead.
Since Godot 4.3, the engine has a handy feature called integer scaling. It constrains your game window to scale pixel art by whole numbers (2x, 3x, 4x) instead of decimal amounts (like 1.5x or 2.7x). This ensures your pixels always stay perfectly square and sharp, no matter the screen size.
When the game can't perfectly fit the screen with integer scaling, it adds black bars to preserve your pixel art's aspect ratio. This works especially well with the viewport scaling mode.
You can enable this in the Display
Don't stop here. Step-by-step tutorials are fun but they only take you so far.
Try one of our proven study programs to become an independent Gamedev truly capable of realizing the games you’ve always wanted to make.
Get help from peers and pros on GDQuest's Discord server!
20,000 membersJoin ServerThere are multiple ways you can join our effort to create free and open source gamedev resources that are accessible to everyone!
Sponsor this library by learning gamedev with us onGDSchool
Learn MoreImprove and build on assets or suggest edits onGithub
Contributeshare this page and talk about GDQUest onRedditYoutubeTwitter…